How to Increase RAM and Virtual Memory in Windows 10 & 11
Apps freezing, “low memory” warnings, or Windows showing less RAM than you installed? Learn how to free up memory, set virtual memory the right way, and upgrade RAM safely.
By ConfirmFix Editorial Team · Updated November 2, 2026
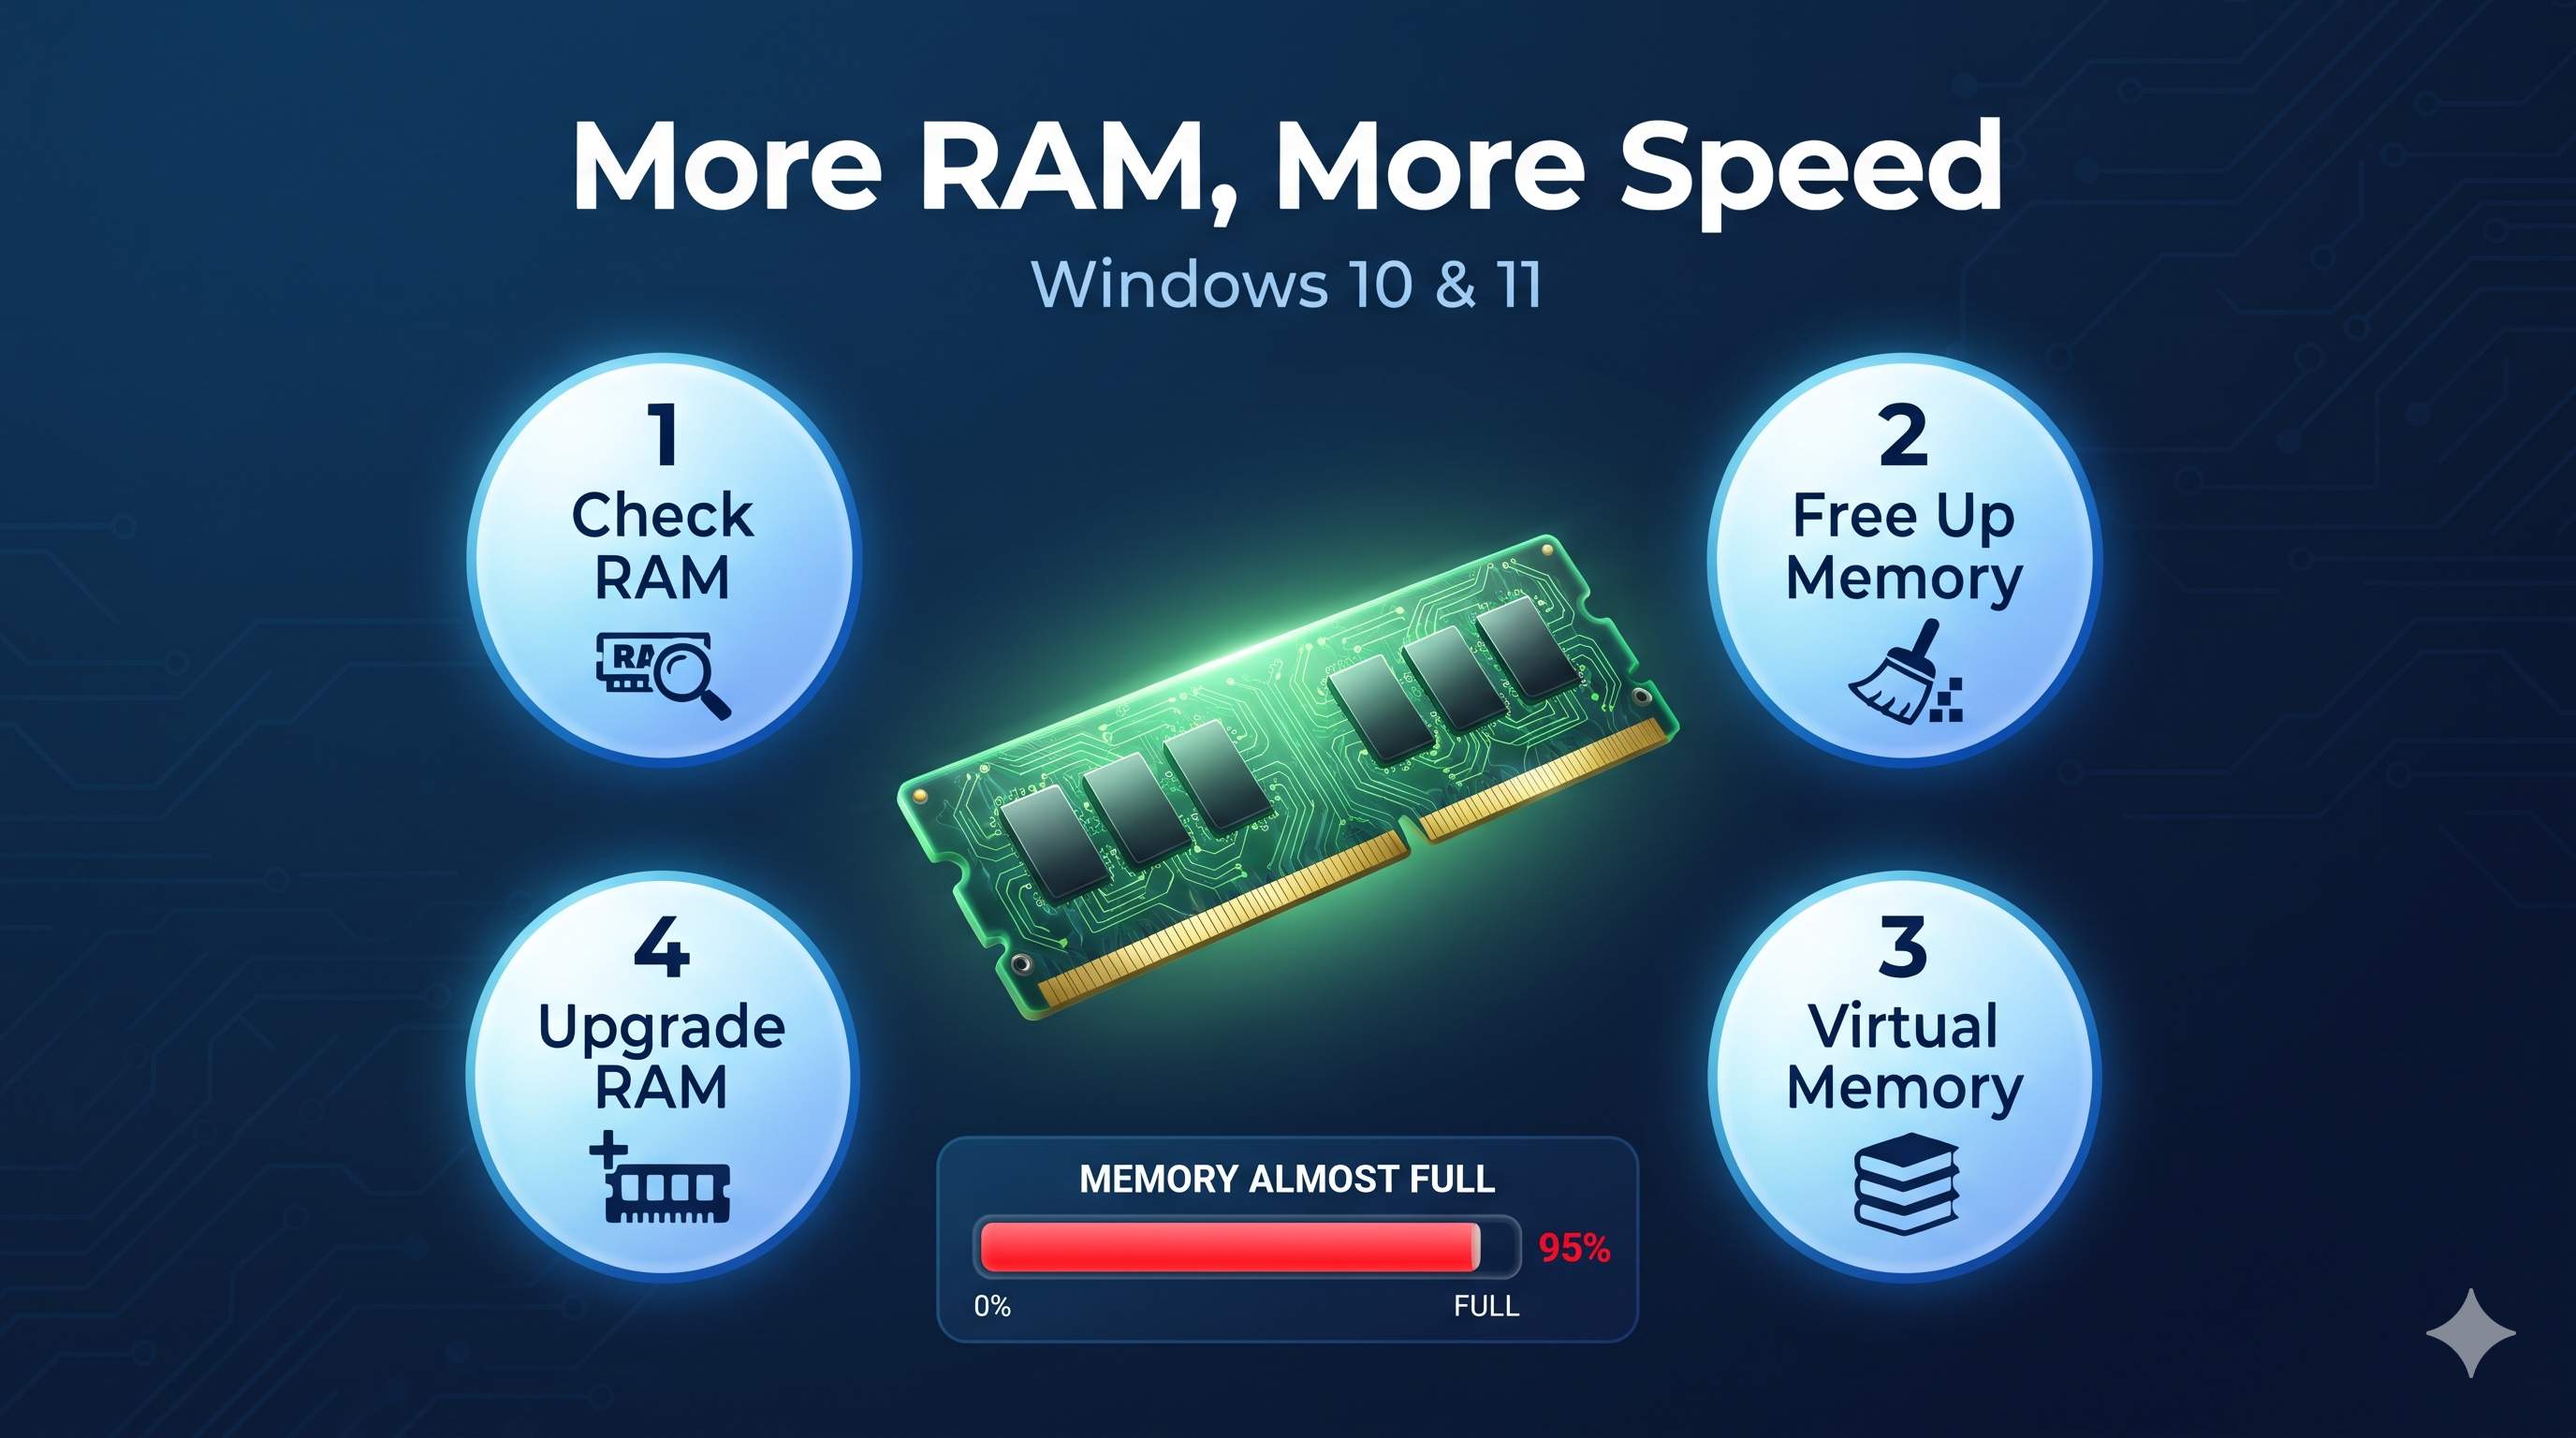
Quick answer
You cannot turn virtual memory into real RAM. Virtual memory is a safety net on your drive. The best order is: free up memory (Steps 3 to 5), leave virtual memory on automatic (Step 7), and upgrade RAM only if you are still running out (Steps 10 to 12). Most PCs feel smoother with 8 GB, and 16 GB is comfortable for gaming and heavy multitasking.
What is your goal?
The 12 steps
PART 1 · KNOW YOUR MEMORYCheck how much RAM you have and how it is used
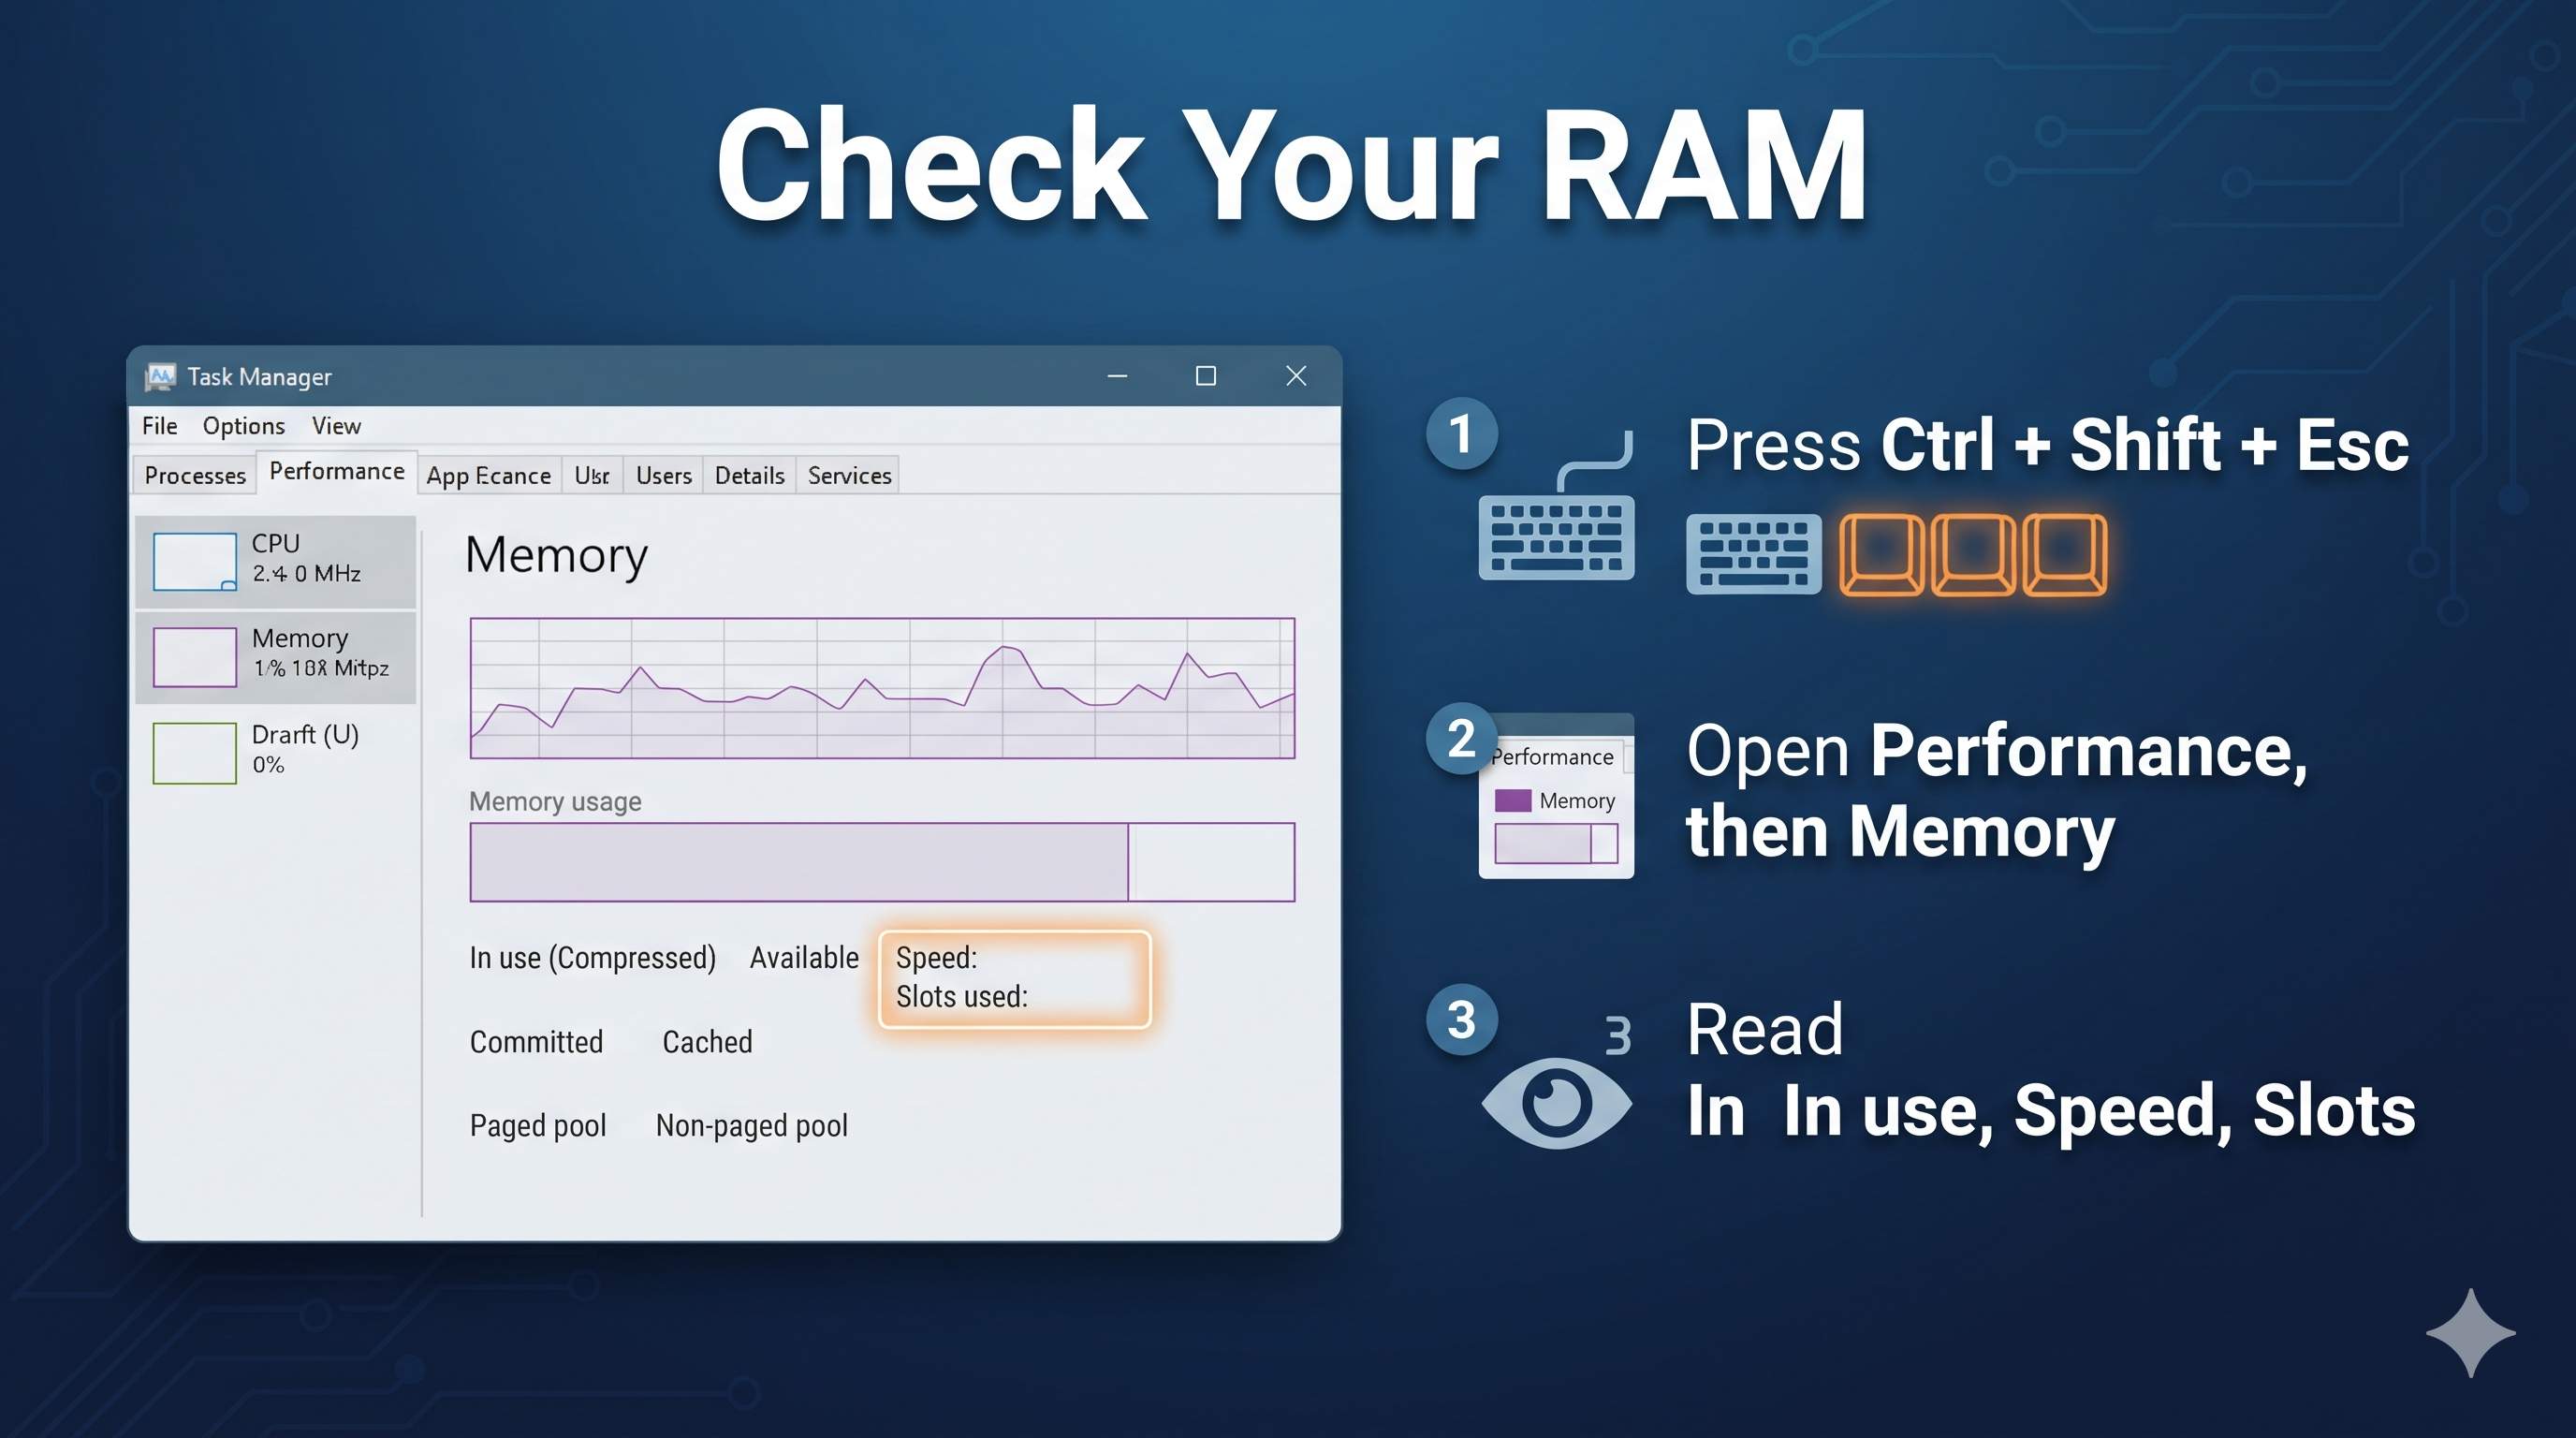
- Press Ctrl + Shift + Esc and open the Performance tab, then click Memory.
- Note In use, Available, Speed, Slots used and Form factor.
- Open Settings → System → About and check Installed RAM and System type.
If memory sits above about 80% most of the day, you are short on RAM. If System type says 32-bit, Windows can use only about 4 GB no matter how much you install.
Fix “usable RAM” showing less than installed
Some loss is normal. Integrated graphics share memory, and Windows reserves some for hardware. A big gap is not normal. A common cause is a leftover memory limit.
- Press Windows + R, type
msconfigand press Enter. - Open the Boot tab and click Advanced options.
- Make sure Maximum memory is unticked. Click OK and restart.
Still missing a lot? Check that the sticks are seated firmly and that Windows is 64-bit.
Close memory hogs and restart fully
- In Task Manager, click the Memory column to sort from highest to lowest.
- Right-click apps you are not using and choose End task.
- In Chrome or Edge, press Shift + Esc to find heavy tabs and extensions.
- Use Restart, not Shut down. A restart clears memory leaks completely.
Stop startup and background apps
- Open Task Manager → Startup apps and disable high-impact apps you do not need.
- Open Settings → Apps → Installed apps, click the three dots beside an app, choose Advanced options and set Background apps permissions to Never (Windows 10: Settings → Privacy → Background apps).
Full walkthrough: how to fix slow startup in Windows.
Handle high memory use with no clear cause
- Install pending updates and driver updates in Settings → Windows Update. Faulty drivers can leak memory.
- Run the Windows Memory Diagnostic: press Windows + R, type
mdsched.exe, choose Restart now and check for problems. - Repair system files in Terminal (Admin):
DISM /Online /Cleanup-Image /RestoreHealth
sfc /scannow
If the memory test reports errors, a RAM stick is faulty and needs replacing.
Understand and open virtual memory settings
Virtual memory (the paging file, pagefile.sys) lets Windows move rarely used data from RAM to your drive. It prevents crashes when RAM fills up, but a drive is far slower than RAM.
| RAM | Virtual memory | |
|---|---|---|
| Where | Memory sticks | A file on your drive |
| Speed | Very fast | Much slower, especially on a hard drive |
| Role | Runs active apps | Safety net when RAM is full |
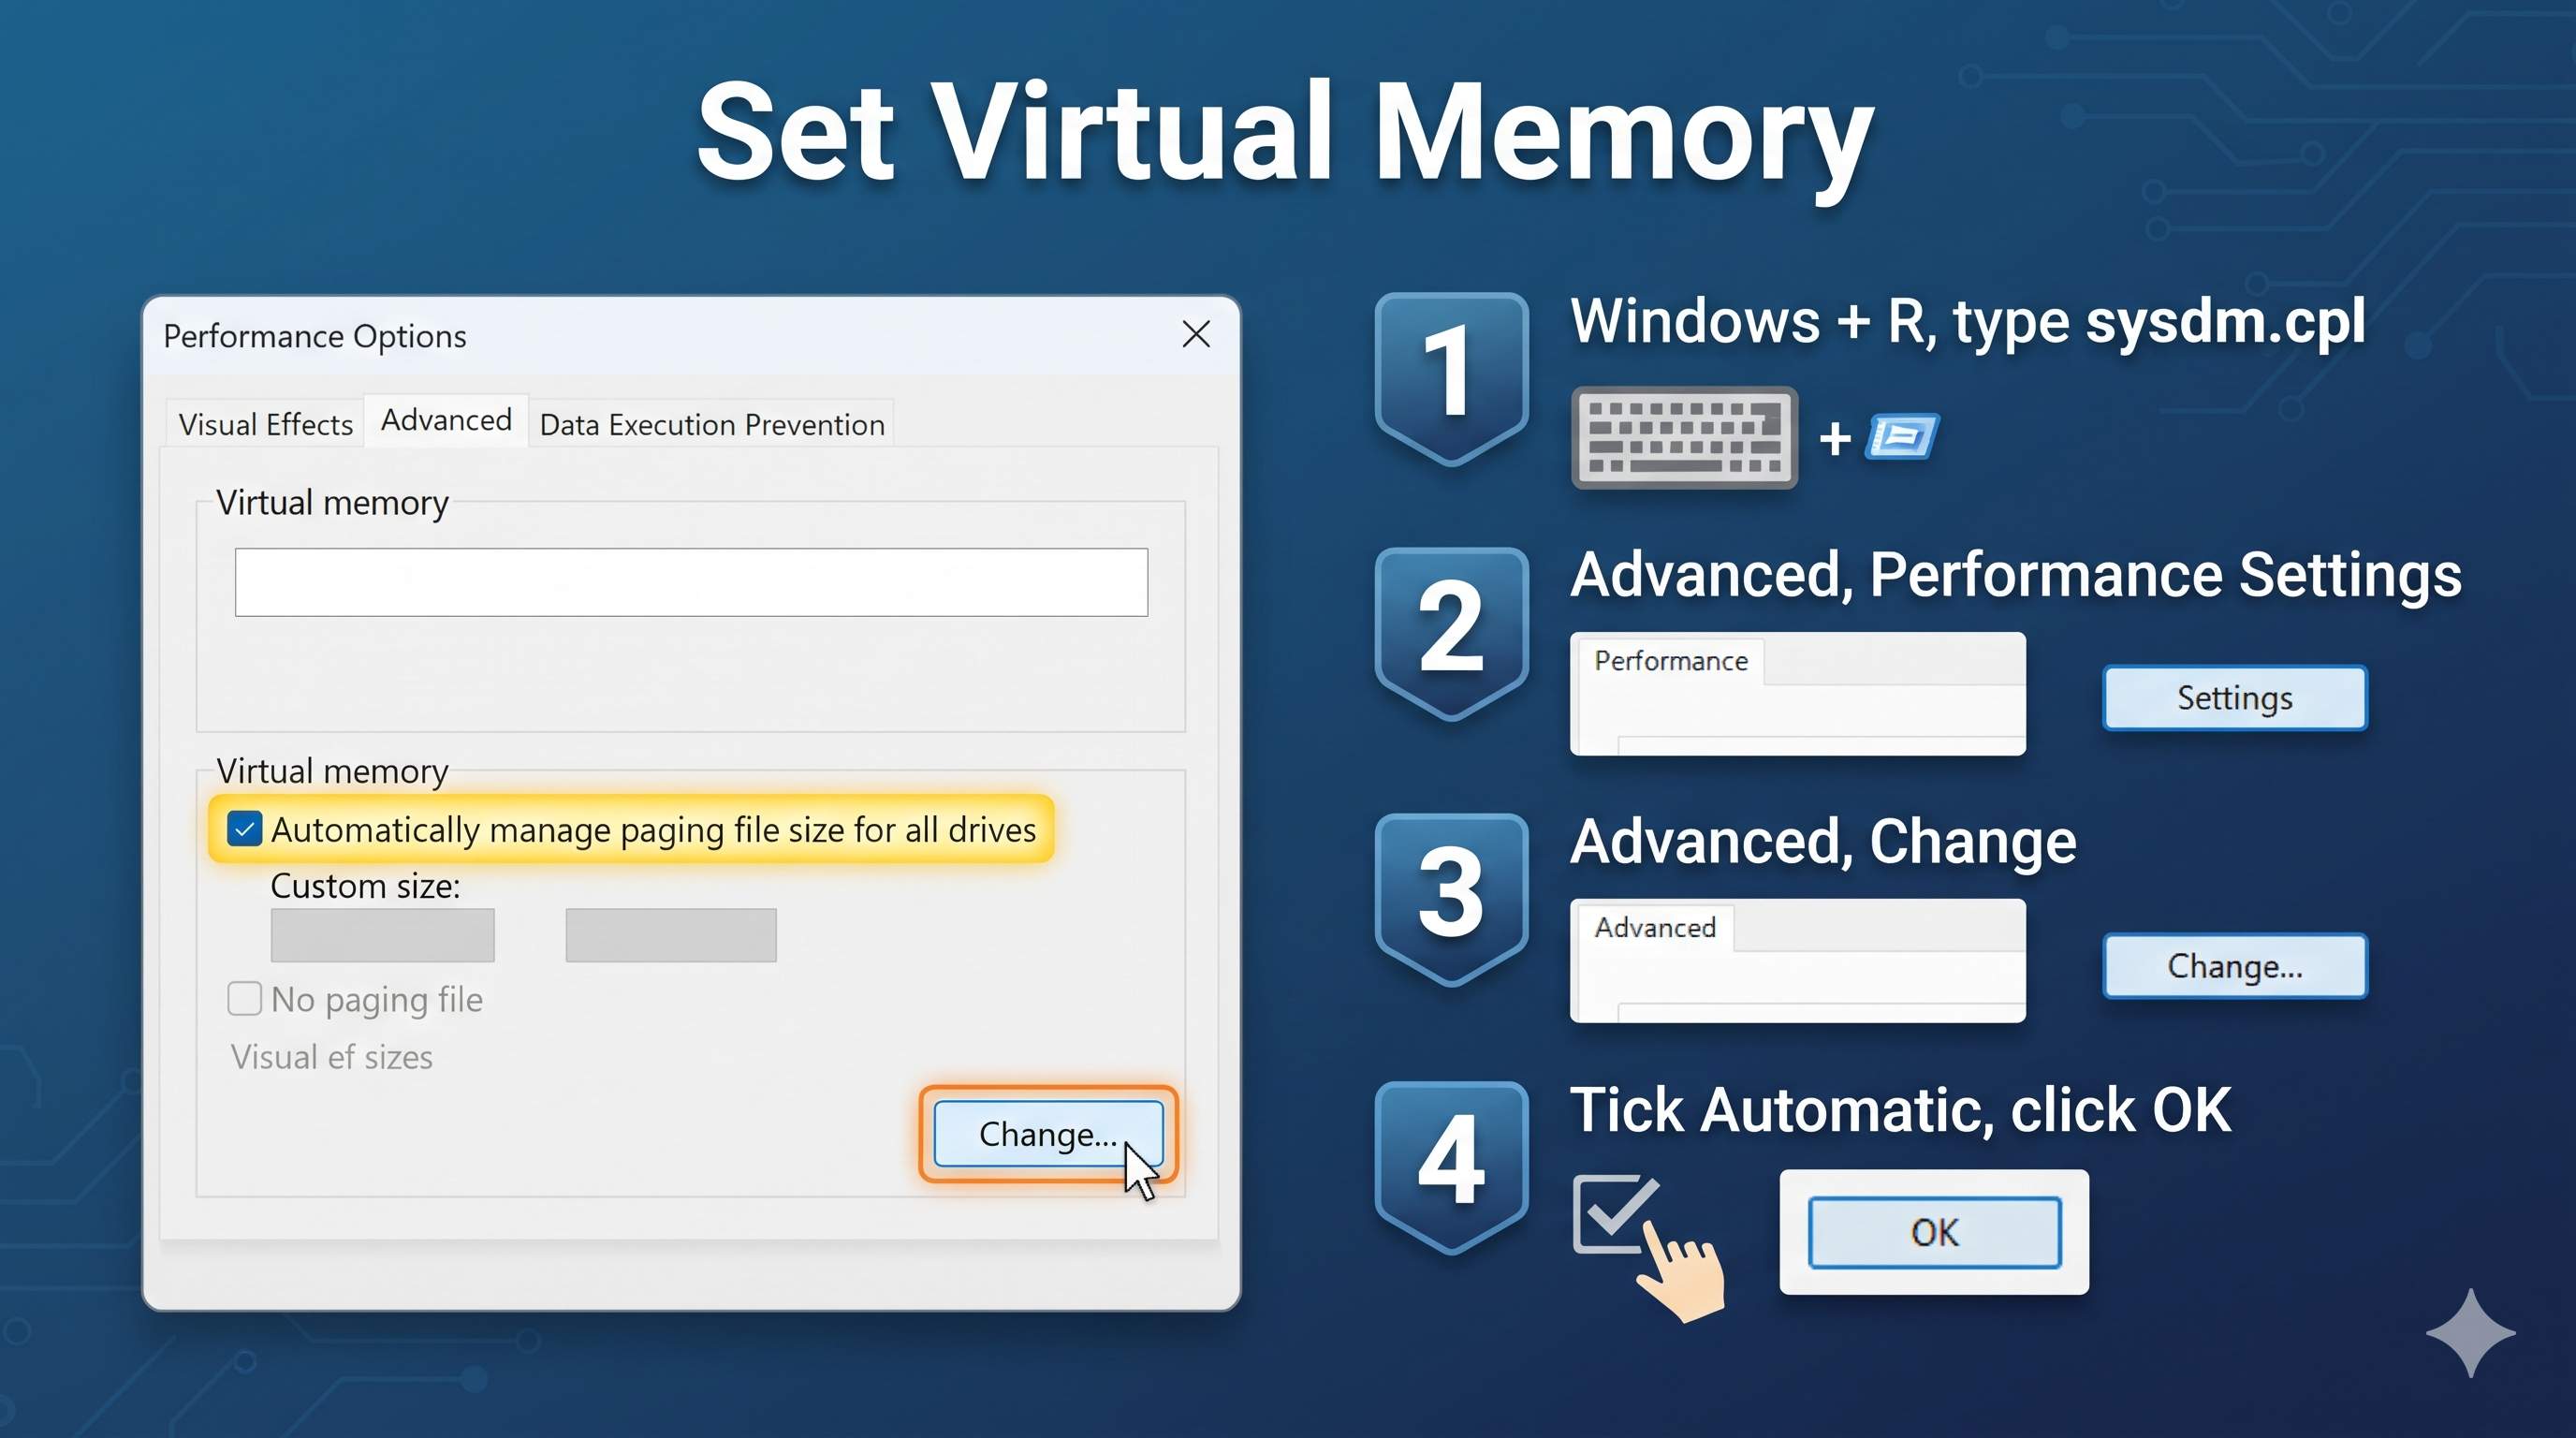
- Press Windows + R, type
sysdm.cpland press Enter. - Open Advanced → Performance Settings → Advanced.
- Under Virtual memory, click Change.
Let Windows manage virtual memory (recommended)
- In the Virtual Memory window, tick Automatically manage paging file size for all drives.
- Click OK and restart.
Windows grows and shrinks the file as needed. If you have 16 GB of RAM or more, this is usually all you need.
Set a custom size (when you get low-memory errors)
Use this if you see “Your system is low on virtual memory” or games crash when RAM fills up.
- Untick Automatically manage paging file size for all drives.
- Select your fastest drive (an SSD if you have one).
- Choose Custom size, enter Initial size and Maximum size in MB (use the calculator below), click Set, then OK and restart.
Make sure the drive has that much free space. Keep some paging file on C: so Windows can save crash information.
Your RAM in GB:
Do not turn virtual memory off
Some guides say disabling it speeds up Windows. It does not. With no paging file, apps crash the moment RAM fills up, and some programs refuse to start. Keep it on, automatic or custom.
Find your RAM type and the maximum you can add
Open PowerShell (Admin) and run these two commands:
Get-CimInstance Win32_PhysicalMemory | Select BankLabel, Capacity, Speed, SMBIOSMemoryType, FormFactor
Get-CimInstance Win32_PhysicalMemoryArray | Select MaxCapacity, MemoryDevices| Value | Meaning |
|---|---|
| SMBIOSMemoryType 24 / 26 / 34 | DDR3 / DDR4 / DDR5 |
| FormFactor 8 / 12 | DIMM (desktop) / SODIMM (laptop) |
| MaxCapacity | Maximum total RAM, in KB. Divide by 1,048,576 for GB |
| MemoryDevices | Number of RAM slots |
Buy the right RAM
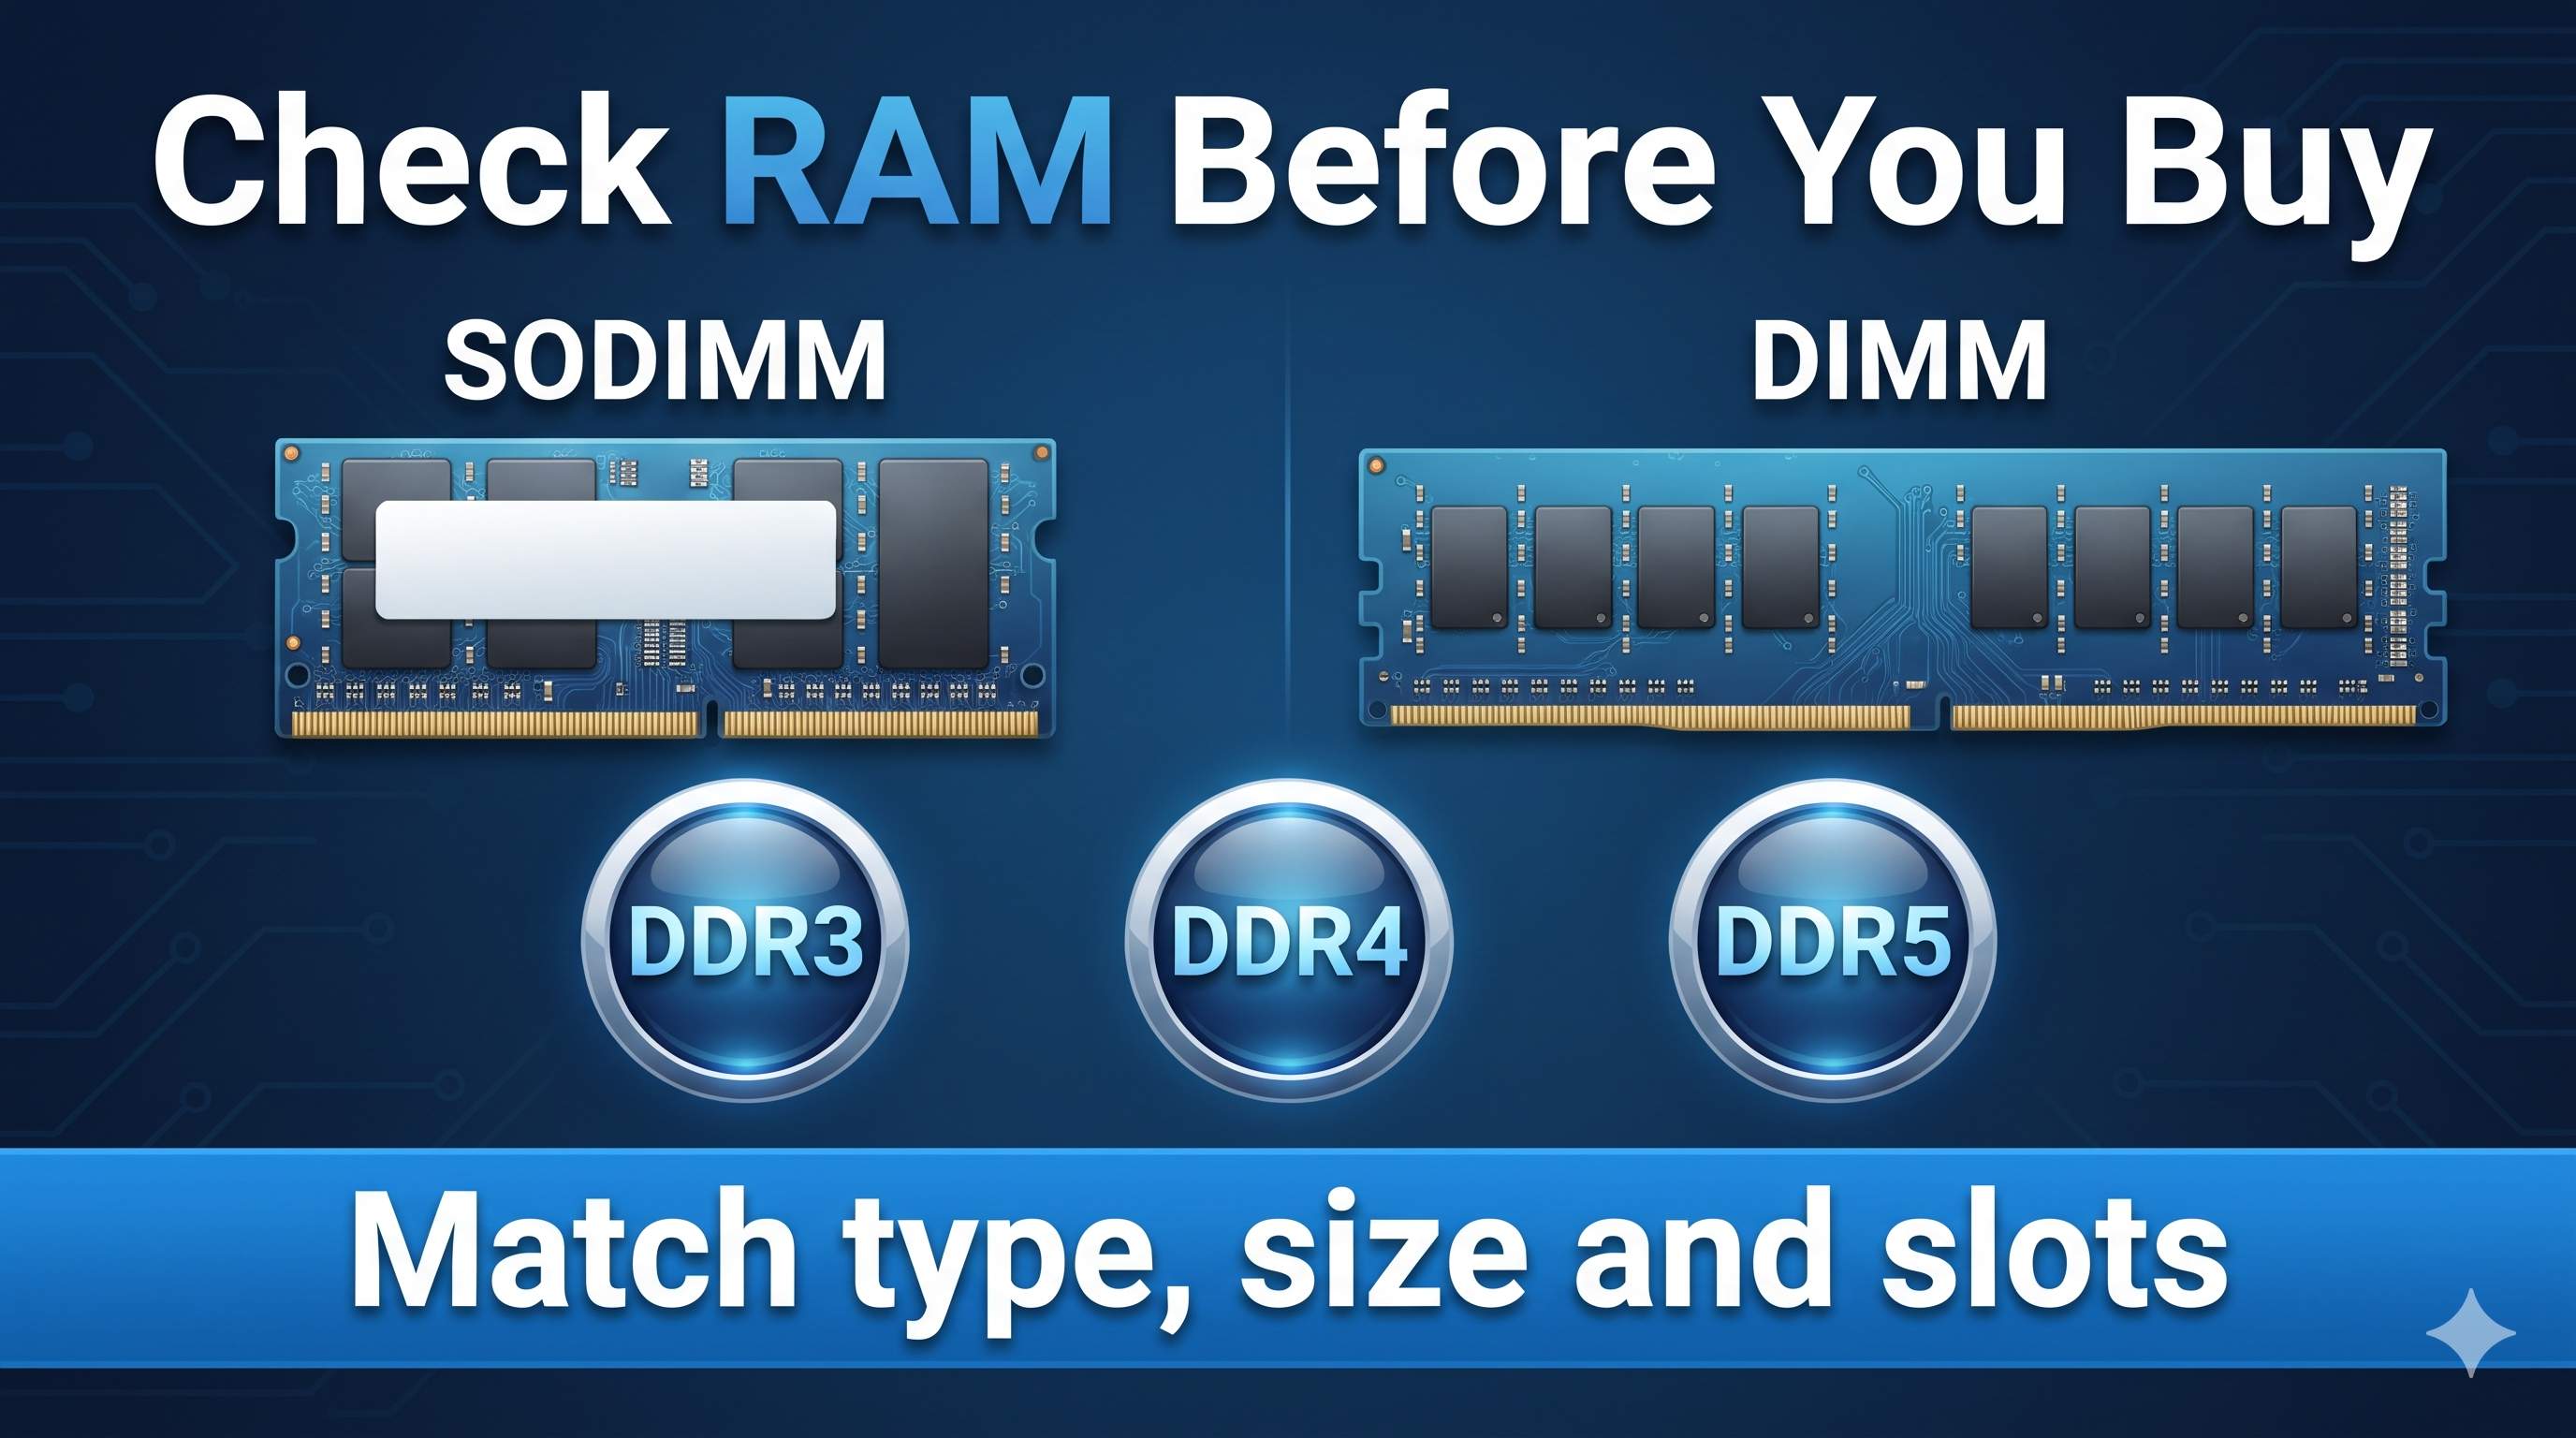
- Match the type: DDR3, DDR4 or DDR5. They are not interchangeable.
- Match the size: SODIMM for laptops, DIMM for desktops.
- Use pairs: two identical sticks run in dual channel, which is faster than one big stick.
- Check your model: some thin laptops have soldered RAM that cannot be upgraded. Look up your exact model on your PC maker’s support page.
Install the RAM and test it
- Shut down, unplug the charger, and remove the battery if it comes out.
- Press the power button for 10 seconds, then touch bare metal to discharge static.
- Open the RAM cover. Release the side clips, remove the old stick, and push the new one in at an angle until the clips click.
- Close the cover, start the PC and check Task Manager → Memory for the new total.
- Run
mdsched.exeto test the new RAM.
If you are not comfortable opening your PC, ask a technician. Opening some laptops may affect your warranty.
Myths about RAM and virtual memory
| Myth | The truth |
|---|---|
| “Set virtual memory to 3x RAM for 3x speed” | It only adds a bigger safety net. It does not add speed. |
| RAM cleaner or booster apps | They free memory that Windows would have freed anyway, and often slow things down. |
| ReadyBoost with a USB stick | Little to no benefit on modern PCs. |
| More RAM always means faster | Only if you actually run out. Extra RAM beyond your needs sits unused. |
Frequently asked questions
How much RAM do I need?
8 GB is a good baseline for everyday use. 16 GB is more comfortable for gaming, video editing and many browser tabs.
Can virtual memory replace RAM?
No. It prevents crashes when RAM is full, but it is much slower than RAM, so your PC will still feel slow.
Is 100% memory usage bad?
If it stays near 100% and the PC lags, you need to free up memory or add RAM. Short spikes are normal.
Should I move the paging file to another drive?
Only if the other drive is faster, such as an SSD. Keep a small paging file on C: so Windows can write crash information.
Why does Windows show less RAM than I installed?
Reserved hardware memory and shared graphics memory explain a small gap. A big gap usually points to a memory limit in msconfig, a loose stick, or 32-bit Windows.
Will adding RAM fix a slow startup?
It helps more with lag after sign-in than with the boot itself. See our guide to fixing slow startup for the startup stage.
Related guides: fix 100% disk usage, fix high CPU usage, optimize Windows for gaming, and speed up Windows 11. More are in the Slow PC & Performance guide.
Need a Hand? Get Remote Support.
We can check your memory use and settings in a secure remote session. For a hardware upgrade, we can help you confirm the right RAM before you buy.
Get HelpOfficial source
About the Author
ConfirmFix Editorial Team creates practical Windows troubleshooting guides to help readers understand common PC problems and follow step-by-step solutions.
Updated November 2, 2026. Menu names vary by Windows build and PC brand. Back up important data before changing system settings or opening your PC. ConfirmFix is an independent troubleshooting guide and is not affiliated with, endorsed by or sponsored by Microsoft. Windows is a trademark of Microsoft Corporation.