In This Guide
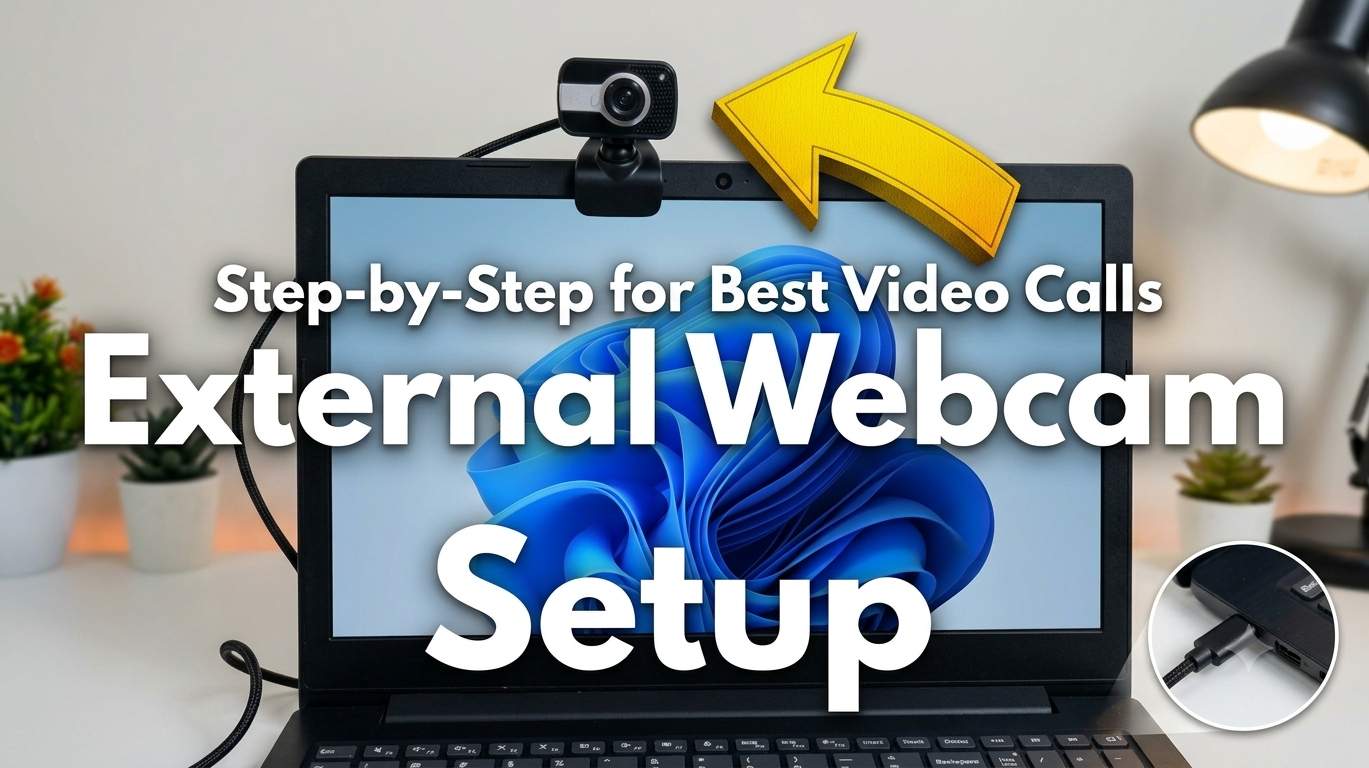
01. Quick Answer
| Step | What to do | Time | Needed? |
|---|---|---|---|
| 1 | Check the Webcam, Cable and USB Port | 1 min | Yes |
| 2 | Plug In and Let Windows Install It | 1 min | Yes |
| 3 | Confirm Windows Detects the Webcam | 1 min | Yes |
| 4 | Allow Camera Access in Privacy Settings | 2 min | Yes |
| 5 | Test It with the Camera App | 1 min | Yes |
| 6 | Choose the Webcam in Zoom, Teams, Meet and Browsers | 3 min | Yes |
| 7 | Disable the Built-in Camera | 2 min | Optional |
| 8 | Improve Picture Quality | 5 min | Recommended |
02. What You Need Before You Start
03. Step 1: Check the Webcam, Cable and USB Port
Time: 1 min | Needed: Yes
Before plugging in, remove the protective film from the lens and open the privacy shutter if your webcam has one. Check that the cable is not bent or damaged. HD and 4K webcams need steady power and bandwidth, so a good cable and port matter.
Choose a USB port directly on the laptop. A blue USB 3.0 port (or a USB-C port) is best for 1080p and higher; a USB 2.0 port works for basic 720p video. Avoid cheap hubs and long extension cables, which are a common reason for a webcam that disconnects or looks poor.
Steps
- Remove the lens film and open any privacy shutter.
- Pick a direct USB port on the laptop (USB 3.0 or USB-C if possible).
- Close apps that use the camera, such as Zoom or Teams.
04. Step 2: Plug In and Let Windows Install It
Time: 1 min | Needed: Yes
Connect the webcam and wait 10-30 seconds. Windows detects it automatically, installs a generic driver and may show a "Setting up a device" notification. Most webcams need nothing more, so you do not have to download software first.
If your webcam brand has its own app (Logitech G HUB, Logi Tune, Razer Synapse and similar), install it afterwards only if you want extra controls such as zoom, field of view or saved profiles.
Steps
- Plug the webcam cable into the USB port.
- Wait for the Windows install notification to finish.
- Place the webcam on top of the monitor at eye level.
05. Step 3: Confirm Windows Detects the Webcam
Time: 1 min | Needed: Yes
Open Settings and look at the Cameras page. Your external webcam should be listed next to the built-in laptop camera. Click it and you will see a live preview along with basic controls.
You can also check Device Manager. Under Cameras (or Imaging devices) you should see the webcam name. A yellow warning icon means the driver needs attention, which is covered in the fixes below.
Steps
- Open Settings → Bluetooth & devices → Cameras.
- Click your external webcam to open its preview.
- Or right-click Start → Device Manager → Cameras and check the entry.
06. Step 4: Allow Camera Access in Privacy Settings
Time: 2 min | Needed: Yes
If the webcam is detected but apps show a black screen or "no camera found", camera access is often switched off. Windows has three levels: camera access for the device, access for apps, and access for desktop apps. All three must be on for Zoom, Teams and most browsers to work.
Some laptops and security tools also have a separate camera lock or privacy shortcut key. Check that nothing is blocking the camera there too.
Steps
- Open Settings → Privacy & security → Camera.
- Turn on Camera access and Let apps access your camera.
- Scroll down and turn on Let desktop apps access your camera.
07. Step 5: Test It with the Camera App
Time: 1 min | Needed: Yes
The built-in Camera app is the quickest way to see if the webcam works before you join a meeting. If a picture appears here, the hardware and driver are fine, and any later problem is a setting inside the meeting app.
If the app opens the laptop's own camera instead, use the Change camera button (a camera-with-arrows icon) in the app to switch to the external one.
Steps
- Press Windows + S, type Camera and open the app.
- Click Change camera until your external webcam is shown.
- Wave your hand to confirm the picture is live and smooth.
08. Step 6: Choose the Webcam in Zoom, Teams, Meet and Browsers
Time: 3 min | Needed: Yes
Windows does not have one global default camera, so each app remembers its own choice. Open the video settings in the app you use and select the external webcam by name. After that, most apps remember the selection.
If you change the webcam while an app is open, close and reopen the app so it re-reads the device list.
Steps
- Zoom: Settings → Video → Camera → choose your webcam.
- Microsoft Teams: Settings → Devices → Camera → choose your webcam.
- Google Meet: Settings (three dots) → Video → Camera → choose your webcam.
- Chrome / Edge: click the camera icon in the address bar, or open the site's permission menu, and select the webcam.
09. Step 7: Disable the Built-in Camera (Optional)
Time: 2 min | Needed: Optional
If apps keep choosing the laptop's own camera, you can turn it off so the external webcam is the only one available. This is reversible: you can enable the built-in camera again at any time.
Use the Cameras page first because it is the simplest method. If your Windows version does not show a Disable button, use Device Manager instead.
Steps
- Settings → Bluetooth & devices → Cameras, click the built-in camera and select Disable.
- Or open Device Manager → Cameras, right-click the built-in camera and choose Disable device.
- To undo it, repeat the steps and choose Enable.
10. Step 8: Improve Picture Quality
Time: 5 min | Needed: Recommended
Light is the biggest factor. Put a lamp or window in front of you, not behind, and keep the lens clean. Place the webcam at eye level and about an arm's length away so your face fills the frame.
In Windows, the Cameras page lets you adjust brightness, contrast and picture rotation for the selected webcam. Many brand apps add sharpness, white balance, field of view and autofocus controls. Also check the resolution in your meeting app, because some apps default to 720p to save data.
Steps
- Open Settings → Bluetooth & devices → Cameras, select the webcam and adjust brightness and contrast.
- Use the maker's app for focus, zoom and white balance if you installed it.
- Turn on HD video in Zoom, Teams or Meet if the option is available.
11. Webcam Not Working? Fixes by Symptom
Work through these quick checks in order. Most problems are fixed by the first three.
Quick fixes
- Unplug the webcam, restart the laptop, and plug it into a different USB port.
- Close every app that may be using the camera (Zoom, Teams, browser tabs, OBS, Camera app), then try one app at a time.
- Recheck Settings → Privacy & security → Camera and any antivirus camera protection.
- In Device Manager, right-click the webcam → Uninstall device, unplug it, restart and plug it back in so Windows reinstalls the driver.
- Run Settings → Windows Update and install any optional driver updates.
- Open Settings → System → Troubleshoot → Other troubleshooters and run the Camera troubleshooter.
| Symptom | Start with |
|---|---|
| Webcam not listed in Settings | Different USB port, then reinstall driver |
| Listed but black screen in apps | Step 4 privacy settings, close other apps |
| Apps use laptop camera instead | Step 6 or Step 7 |
| Webcam keeps disconnecting | Remove hub, use shorter cable |
| Blurry or dark picture | Step 8 lighting and lens |
| Yellow warning in Device Manager | Uninstall device and restart |
🏆 Bottom Line
Connecting an external webcam on Windows is plug-and-play for most people: plug it into a direct USB port, confirm it in Settings, allow camera access, and choose it inside your video-call app. If you want it to be the only camera, disable the built-in one. When something goes wrong, the cause is almost always a bad port, a blocked privacy setting or another app holding the camera. Check your webcam maker's support page for model-specific drivers or firmware.